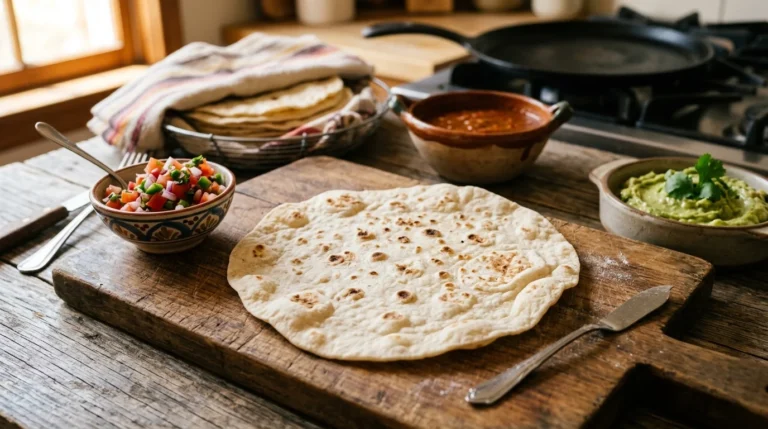
Cottage Cheese Tortilla High-Protein, Fluffy & Ready in 20 Minutes
This cottage cheese tortilla turns two ingredients into a high-protein wrap that bends, folds, and holds without tearing. It works for breakfast wraps, post-workout lunches, or a quick low-carb dinner base. Blend, bake, and roll — that is the whole process. No complicated steps — just pure cottage cheese tortilla goodness, fresh from the oven.
Ingredients List
- 1 cup cottage cheese (full-fat or low-fat — full-fat blends smoother)
- 2 large eggs (room temperature)
- ½ tsp kosher salt
- ½ tsp garlic powder (optional)
- ½ tsp dried oregano or Italian seasoning (optional)
- ¼ tsp freshly cracked black pepper (optional)
- 1 tbsp grated parmesan (optional, for savory depth)
- 1 tsp lemon zest (optional, for a fresh edge)
- Nonstick spray or parchment paper (for the baking sheet)
Step-by-Step Instructions
Step 1: Gather and Prep Your Ingredients
Pull the cottage cheese and eggs out 10 minutes before mixing so they sit at room temperature. Cold dairy and eggs blend lumpy and resist smoothing fully. Preheat the oven to 350°F and line a baking sheet with parchment paper. Skip the foil — cottage cheese tortillas stick to it stubbornly and tear when you peel.
Measure out the seasonings into a small bowl so they are ready when the blender stops spinning. The whole recipe moves fast — pre-measuring keeps you from rushing measurements and accidentally dropping too much salt into the mix. A digital scale helps for tight portioning, but standard measuring spoons work fine for everyday cooks.
Pro Tip: Room-temperature ingredients blend silkier — cold cottage cheese leaves visible curd lumps in the finished tortilla.
Step 2: Blend the Cottage Cheese and Eggs
Add the cottage cheese, eggs, salt, and any optional seasonings to a blender or food processor. Blend on high for 30 to 45 seconds until completely smooth. The mixture should look like thick pancake batter — pale yellow, glossy, with no visible curds left from the cottage cheese. Scrape down once if needed.
If the batter still looks chunky, scrape down the sides and blend again for another 15 to 20 seconds. Lumps will not bake out — they stay as bumps in the finished tortilla. A truly smooth blend is what gives the texture its bendable, wrap-like quality without any rubbery patches showing through.
Pro Tip: A high-speed blender works fastest — but an immersion blender in a tall cup works just as well.
Step 3: Pour and Spread on the Baking Sheet
Pour the blended mixture onto the parchment-lined sheet pan. Use a silicone spatula to spread it into a thin, even circle about 8 to 9 inches across. Aim for ⅛-inch thickness — too thick tastes like an omelet, too thin tears when you fold it. The shape matters less than the thickness.
Smooth out the edges so they are not too thin compared to the center. Thin edges scorch quickly before the center finishes setting. The shape does not need to be perfect — once filled and rolled, no one will notice the slightly oval edges or any unevenness around the outer curve of the tortilla.
Pro Tip: Spread from the center outward in a spiral — it gives the most even thickness across the whole tortilla.
Step 4: Bake Until Set and Golden
Bake at 350°F for 15 to 18 minutes. The tortilla is done when the surface looks set, the edges turn light golden brown, and the center no longer wobbles when you tap the pan gently. A slight pull-away from the parchment around the edges confirms it is ready to come out.
Avoid overbaking — cottage cheese tortillas turn rubbery and dry past 18 minutes. If your oven runs hot, start checking at the 14-minute mark instead. Color is the most reliable signal: pale at the center means more time needed, deep gold at the edges means it is time to pull the pan.
Pro Tip: Trust your eyes over the timer — every oven runs slightly differently, especially at lower temperatures.
Step 5: Cool and Release From the Pan
Let the tortilla rest on the pan for 3 to 5 minutes before moving it. This short rest firms up the structure and lets the bottom release cleanly from the parchment. Lift one edge of the parchment carefully to check — if it peels easily, the tortilla is ready to transfer to a rack.
Slide the parchment with the tortilla onto a wire rack or cutting board to cool further. Do not stack a second one directly on top while either is still warm. Trapped steam will soften both, and you lose the slight chew that makes cottage cheese tortillas work as wraps in the first place.
Pro Tip: Always cool on the parchment, not directly on the wire rack — the wire pattern imprints fast on a warm surface.
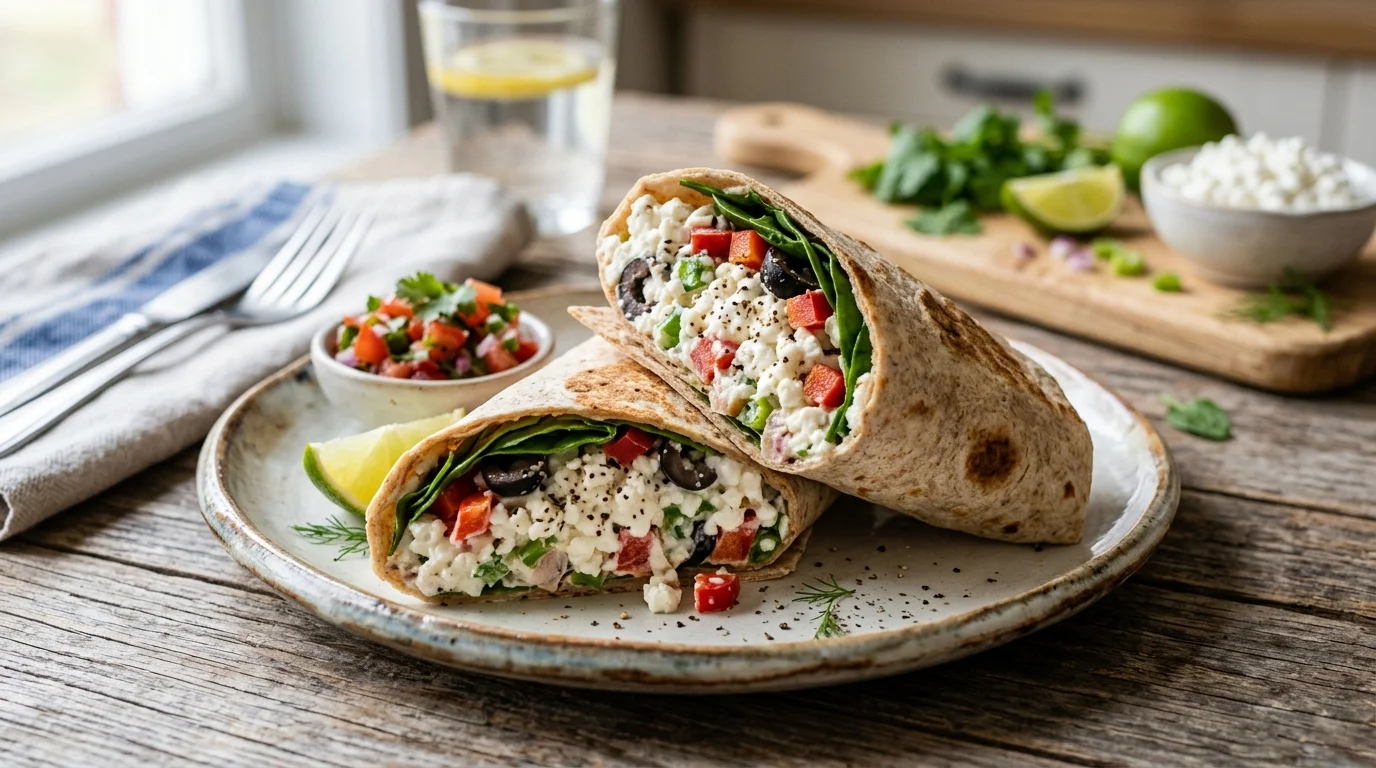
Step 6: Fill, Roll, and Serve
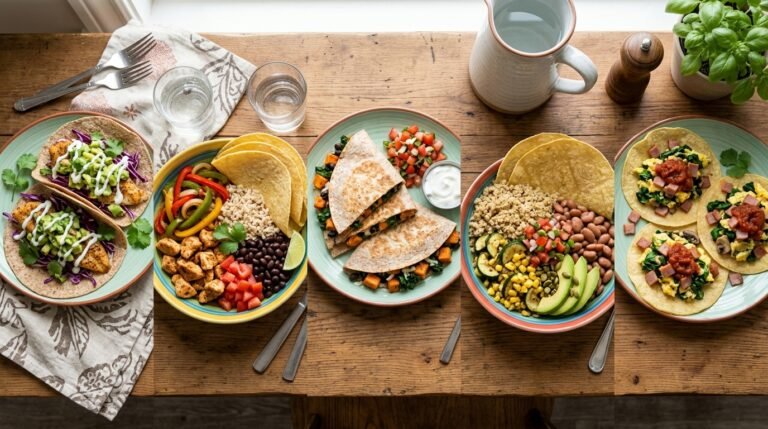
Once cooled to warm — not hot — the tortilla is ready to use. Layer fillings down the center: scrambled eggs, grilled chicken, hummus, avocado, smoked salmon, or roasted vegetables. Fold the sides in first, then roll tightly from the bottom up — just like a burrito. The texture stays soft and flexible.
For an open-faced approach, leave the tortilla flat and use it as a high-protein pizza base, taco shell, or breakfast plate. The mild flavor pairs well with both sweet and savory fillings. Cut into wedges and serve, or pack rolled tortillas for lunch — they hold up beautifully in the fridge.
Pro Tip: Warm the tortilla in a dry skillet for 30 seconds before filling — it makes the wrap even more flexible.
📖 Read More: Tortilla Pizza
Cook Time
Total Time: 20 minutes | Prep: 5 minutes | Bake: 15 minutes No flipping required — bakes hands-off.
Servings
Makes 1 large tortilla per batch — serves 1 as a full wrap or 2 as halves (about 8–9 inches across).
Nutritional Information (approx. per full tortilla)
| Nutrient | Amount |
|---|---|
| Calories | 220 |
| Fat | 9g |
| Saturated Fat | 4g |
| Carbohydrates | 5g |
| Protein | 28g |
| Sugar | 4g |
| Fiber | 0g |
| Sodium | 720mg |
| Vitamin C | 0mg |
| Potassium | 220mg |
| Calcium | 180mg |
Values are approximate and will vary based on ingredients used.
Storage Instructions
Cottage cheese tortillas are best on the day they bake, when the texture is at its softest and most flexible. Refrigerate leftovers in an airtight container for up to 3 days, with parchment between stacked tortillas so they do not stick together. Reheat in a dry skillet for 30 seconds per side.
Freezing works for cottage cheese tortillas. Stack them with parchment between each one, seal in a freezer bag, and store up to 1 month at the back of the freezer. Thaw at room temperature for 15 minutes, then warm in a skillet. For day-old tortillas turning stiff, slice and bake into crispy chips instead.
📖 Read More: Tortilla Chips
Suggestions
- Sweet Breakfast Version: Skip the savory seasonings and add 1 teaspoon vanilla extract plus 1 teaspoon honey to the blender. Top the baked tortilla with peanut butter, sliced banana, and a drizzle of maple syrup. A high-protein breakfast wrap that tastes like dessert but fuels the morning right and keeps you full for hours.
- Spinach and Herb Tortilla: Blend in a handful of fresh spinach, ¼ cup of fresh basil, and 1 minced garlic clove with the base mixture. The result is a green, savory tortilla that pairs beautifully with grilled chicken, turkey, or roasted vegetables. A creative way to sneak greens into a high-protein wrap without changing the texture.
- High-Protein Power Version: Add 1 scoop of unflavored or savory protein powder to the blender along with the eggs. This bumps total protein to 40+ grams per tortilla. Perfect for post-workout meals when you want serious recovery fuel without choking down another shake. Texture stays soft as long as you do not overbake.
- Pizza Base Variation: Use the tortilla as a low-carb pizza crust for weeknight dinners. Top with marinara, shredded mozzarella, and your favorite toppings, then broil for 3 to 4 minutes until the cheese bubbles. A high-protein pizza ready in 25 minutes that beats any frozen version on the shelf.
- Tex-Mex Style Tortilla: Add 1 teaspoon taco seasoning and 2 tablespoons chopped cilantro to the blender. Use the baked tortilla for breakfast tacos with scrambled eggs, salsa, and avocado. The earthy spice blend brings restaurant-style flavor without any complicated layering, and works hot off the pan or cold from the fridge.
- Dairy-Adjacent Note: Cottage cheese is the dairy here — there is no plant-based swap that holds together exactly the same way. For lactose-sensitive eaters, lactose-free cottage cheese works perfectly. The texture and protein content stay identical, just without the digestive issues that regular dairy can cause for some people.
- Kid-Friendly Pizza Pockets: Spread marinara and shredded mozzarella across one half of the baked tortilla. Fold the other half over, press the edges down, and bake another 5 minutes until crispy on the outside. Kids love the calzone-style shape, and the high protein helps with appetite control between meals. A clean lunchbox win.
- Cinnamon Sugar Roll-Up: Sprinkle a baked tortilla with melted butter, cinnamon, and a touch of brown sugar. Roll tightly, slice into pinwheels, and serve as a dessert or sweet snack. A protein-packed alternative to cinnamon rolls that takes 20 minutes from start to finish and works for the whole family.
- Make-Ahead Lunch Stack: Bake 3 tortillas back-to-back on the same day, stack with parchment between each one, and refrigerate. Pull one out each morning, fill with deli meat, cheese, and greens. A meal-prep staple that delivers high protein without the preservatives packed into most store-bought wraps on the shelf.
📖 Read More: Flour Tortilla Recipe
Seasonal Relevance
Cottage cheese tortillas work year-round, but fillings shift with the season. May through September, stuff them with grilled vegetables, fresh tomatoes, summer herbs, or peach-prosciutto. October through April, lean into roasted squash, sautéed mushrooms, melted cheese, and slow-cooked meats. Cottage cheese stays shelf-stable year-round, so the recipe never depends on seasonal availability. A reliable meal-prep base every month of the year.
Conclusion
This cottage cheese tortilla proves high-protein wraps need no fancy work or hours of prep. Master the blend, the spread, and the bake — the rest is yours to play with. Try it sweet, savory, herby, or as a pizza base. Make it once, and store-bought wraps feel like a downgrade. Grab the blender and start mixing.