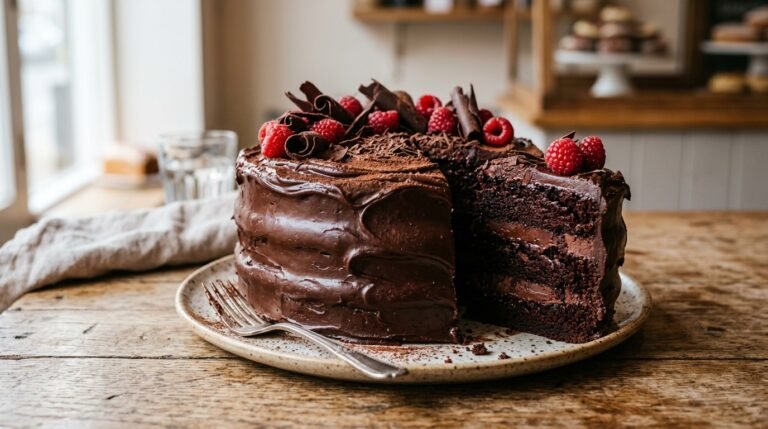
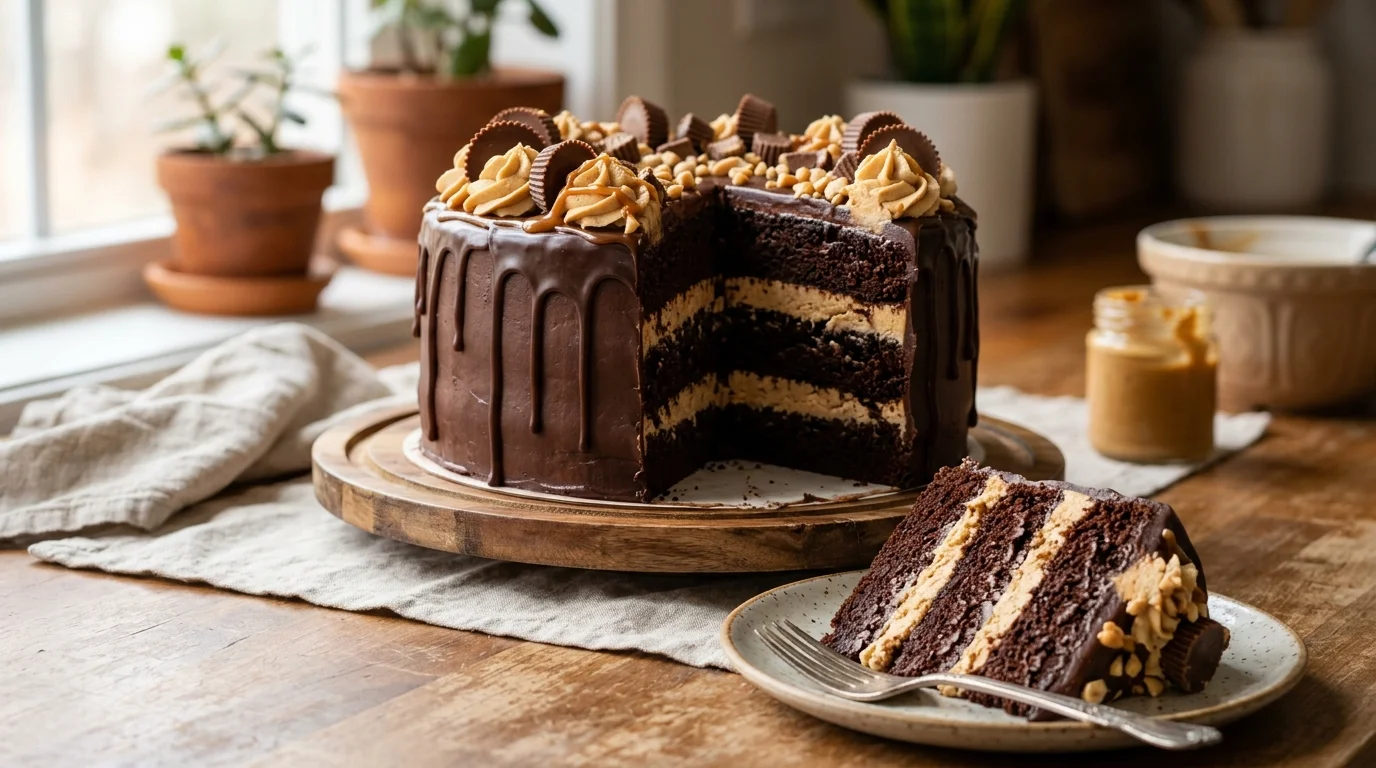
Chocolate Peanut Butter Cake Fudgy, Decadent & Ready in 90 Minutes
This chocolate peanut butter cake brings together moist, fudgy chocolate layers and a silky peanut butter frosting that tastes like a giant peanut butter cup. It works for birthdays, holidays, weeknight celebrations, or a serious chocolate craving. Two flavors, one unforgettable bite. No complicated steps — just pure chocolate peanut butter cake goodness on the plate.
Ingredients List
For the chocolate cake:
- 1¾ cups all-purpose flour
- 1¾ cups granulated sugar
- ¾ cup unsweetened cocoa powder (Dutch-process for deeper color)
- 2 tsp baking soda
- 1 tsp baking powder
- 1 tsp kosher salt
- 1 cup buttermilk (or whole milk + 1 tbsp lemon juice)
- ½ cup neutral oil (canola, avocado, or vegetable)
- 2 large eggs (room temperature)
- 2 tsp vanilla extract
- 1 cup hot coffee (or hot water + 1 tsp instant espresso)
For the peanut butter frosting:
- 1 cup creamy peanut butter (Jif or Skippy — not natural, which separates)
- 1 cup unsalted butter (softened to room temperature)
- 3 cups powdered sugar (sifted)
- 2 tbsp heavy cream (or whole milk)
- 1 tsp vanilla extract
- ¼ tsp kosher salt
For decoration (optional):
- ½ cup chopped peanut butter cups
- ¼ cup mini chocolate chips
- 2 tbsp melted dark chocolate (for drizzle)
- Flaky sea salt (for finishing)
Step-by-Step Instructions
Step 1: Gather and Prep Your Ingredients
Pull the eggs, butter, and buttermilk out 30 minutes before mixing so they reach room temperature. Cold ingredients seize the batter and create a dense crumb. Preheat the oven to 350°F and grease two 8-inch round cake pans. Line the bottoms with parchment circles so the cakes release cleanly.
Brew 1 cup of strong coffee or stir 1 teaspoon of instant espresso into hot water. The coffee deepens the chocolate flavor without making the cake taste like coffee. Measure all dry ingredients into separate bowls, and sift the powdered sugar for the frosting. Prep work matters most here.
Pro Tip: Always sift cocoa powder — it clumps stubbornly and ruins the texture if even small lumps slip through.
Step 2: Mix the Chocolate Cake Batter
Whisk the flour, sugar, sifted cocoa, baking soda, baking powder, and salt in a large bowl. In a second bowl, whisk the buttermilk, oil, eggs, and vanilla until smooth and pale yellow. Pour the wet ingredients into the dry, then mix on medium speed for 90 seconds until combined.
Slowly pour in the hot coffee while mixing on low. The batter will look thin — that is exactly right. Thin batter creates the most tender crumb in a chocolate cake. Resist the urge to add more flour; this consistency is what gives the cake its signature moist, fudgy texture.
Pro Tip: Always stream hot liquid in slowly — pouring all at once can scramble the eggs and ruin the batter.
📖 Read More: Chocolate Cake
Step 3: Bake the Cake Layers
Divide the batter evenly between the two prepared pans. Use a kitchen scale if precision matters — about 600 grams per pan. Bake at 350°F for 28 to 32 minutes, until a toothpick inserted in the center comes out with just a few moist crumbs attached.
Avoid overbaking — chocolate cakes turn dry past 32 minutes. Start checking at the 26-minute mark in case your oven runs hot. Let the cakes cool in the pans for 10 minutes, then turn out onto a wire rack to cool completely before frosting. Warm cake melts the frosting fast.
Pro Tip: Tap each pan firmly on the counter twice before baking — it releases air bubbles for a flat, even top.
Step 4: Make the Peanut Butter Frosting
Beat the softened butter and peanut butter together in a stand mixer for 2 minutes on medium speed. The mixture should look pale, fluffy, and creamy. Scrape down the bowl, then add the sifted powdered sugar 1 cup at a time, beating between additions until fully smooth and lump-free.
Pour in the heavy cream, vanilla, and salt, then beat on high for 2 minutes until light and silky. If the frosting feels too thick, add cream by the teaspoon. Too thin — add more powdered sugar by the tablespoon until it reaches a spreadable consistency that holds its shape.
Pro Tip: Skip natural peanut butter for frosting — the oil separates and turns the texture grainy and slick.
Step 5: Stack and Frost the Cake
Place the first cake layer flat-side up on a cake stand or serving plate. Spread 1 cup of peanut butter frosting evenly across the top — go slightly past the edges. Set the second layer on top, gently pressing down so the frosting locks the layers together for stability and a clean stack.
Apply a thin crumb coat of frosting around the entire cake using an offset spatula. Refrigerate for 15 minutes to set fully. This first thin layer locks in stray crumbs that would otherwise show. Apply the remaining frosting smoothly across the top and sides, swirling with the spatula for texture.
Pro Tip: A bench scraper is the secret to perfectly smooth sides — hold steady and rotate the cake stand slowly.
Step 6: Decorate, Slice, and Serve
Top the cake with chopped peanut butter cups, a sprinkle of mini chocolate chips, and a drizzle of melted dark chocolate across the surface. Finish with a few flakes of sea salt for contrast against the sweetness. The salt cuts through the rich frosting and makes every bite feel balanced and complete.
Let the finished cake rest for 30 minutes before slicing so the frosting sets fully. Use a sharp knife dipped in hot water, wiped dry between cuts, for clean slices. Serve with a glass of cold milk, vanilla ice cream, or strong black coffee on the side for the best pairing.
Pro Tip: Slice with a hot, clean knife between cuts — it gives bakery-style edges every time.
Cook Time
Total Time: 90 minutes | Prep: 25 minutes | Bake: 30 minutes | Cool & Frost: 35 minutes
Servings
Serves 12 — one two-layer 8-inch cake, sliced into generous wedges.
Nutritional Information (approx. per slice — 12 slices)
| Nutrient | Amount |
|---|---|
| Calories | 580 |
| Fat | 32g |
| Saturated Fat | 14g |
| Carbohydrates | 65g |
| Protein | 9g |
| Sugar | 50g |
| Fiber | 3g |
| Sodium | 380mg |
| Vitamin C | 0mg |
| Potassium | 280mg |
| Calcium | 60mg |
Values are approximate and will vary based on ingredients used.
Storage Instructions
Chocolate peanut butter cake stays best at room temperature in a cake dome for 2 days — the frosting forms a protective seal around the crumb. Refrigerate for up to 5 days if your kitchen runs warm. Let chilled slices sit out for 20 minutes before serving so the frosting softens again to a silky texture.
Freezing works beautifully for chocolate peanut butter cake. Slice the cake first, wrap each piece individually in plastic, then store in a freezer bag for up to 3 months. Thaw at room temperature for 1 hour. The texture and flavor hold up remarkably well even after months frozen.
📖 Read More: Chocolate Cherry Cake
Suggestions
- Peanut Butter Cup Stuffed Layers: Press 8 to 10 mini peanut butter cups into each cake layer before baking. The cups melt into pockets of gooey filling throughout the cake. A surprise inside every slice that takes this cake from rich to truly indulgent. Great for birthday parties or special occasions.
- Chocolate Ganache Topping: Skip the peanut butter cup decorations and pour a warm dark chocolate ganache over the top of the frosted cake. The ganache hardens slightly as it cools, creating a glossy chocolate shell that contrasts the silky peanut butter frosting underneath. A bakery-style finish without the bakery price.
- Cupcake Version: Divide the same batter into 24 cupcake liners and bake at 350°F for 18 to 20 minutes. Pipe peanut butter frosting on top and finish with a mini peanut butter cup. Perfect for portion control, school events, or bake sales where individual servings work better than a layer cake.
- Gluten-Free Adaptation: Swap the all-purpose flour for a 1:1 gluten-free flour blend with xanthan gum already included. The chocolate cake portion adapts beautifully — texture stays nearly identical to the original. Double-check that your cocoa powder and peanut butter are also labeled gluten-free for full safety.
- Dairy-Free Version: Use vegan butter, plant-based heavy cream, and almond or oat milk in place of dairy. The peanut butter frosting holds up beautifully with vegan butter — no texture change at all. The cake itself becomes plant-based with these simple swaps and a flax egg substitute.
- Kid-Friendly Decorating: Skip the dark chocolate drizzle and let kids decorate the cake with mini peanut butter cups, M&Ms, and chocolate sprinkles. The base recipe stays the same. Turn frosting and toppings into a fun activity for birthday parties or family weekends — kids love hands-on dessert projects.
- Salted Caramel Variation: Drizzle warm salted caramel sauce between the cake layers along with the peanut butter frosting. The caramel adds buttery sweetness that balances the peanut butter perfectly. Finish the top with extra caramel and a generous sprinkle of flaky sea salt for a sweet-salty finish.
- Sheet Cake Version: Pour all the batter into a single 9×13 sheet pan instead of two round pans. Bake for 32 to 35 minutes, frost in the pan, and slice into squares. A simpler option for potlucks, picnics, or any event where transport matters more than visual height or presentation.
- Banana Bread Twist: Add 2 mashed ripe bananas to the chocolate batter for a fudgier, denser crumb that pairs even better with the peanut butter frosting. A nod to the classic chocolate-peanut butter-banana combination. The bananas add natural sweetness and moisture, so reduce sugar by 2 tablespoons.
📖 Read More: White Chocolate Cake
Seasonal Relevance
Chocolate peanut butter cake works year-round, but cravings shift with the season. October through February brings cravings for rich, fudgy desserts — peak cake season for birthdays and holidays. March through May, pair it with fresh strawberries or raspberries for brightness. Summer months handle this cake too, served chilled with vanilla ice cream. Peanut butter never goes out of season.
Conclusion
This chocolate peanut butter cake proves bakery-style dessert needs no professional skills or expensive tools. Master the moist cake, silky frosting, and smooth assembly — the rest opens up. Try it cupcake-style, gluten-free, or with ganache. Make it once, and it earns a permanent spot in your dessert rotation. Grab the pans and start baking.