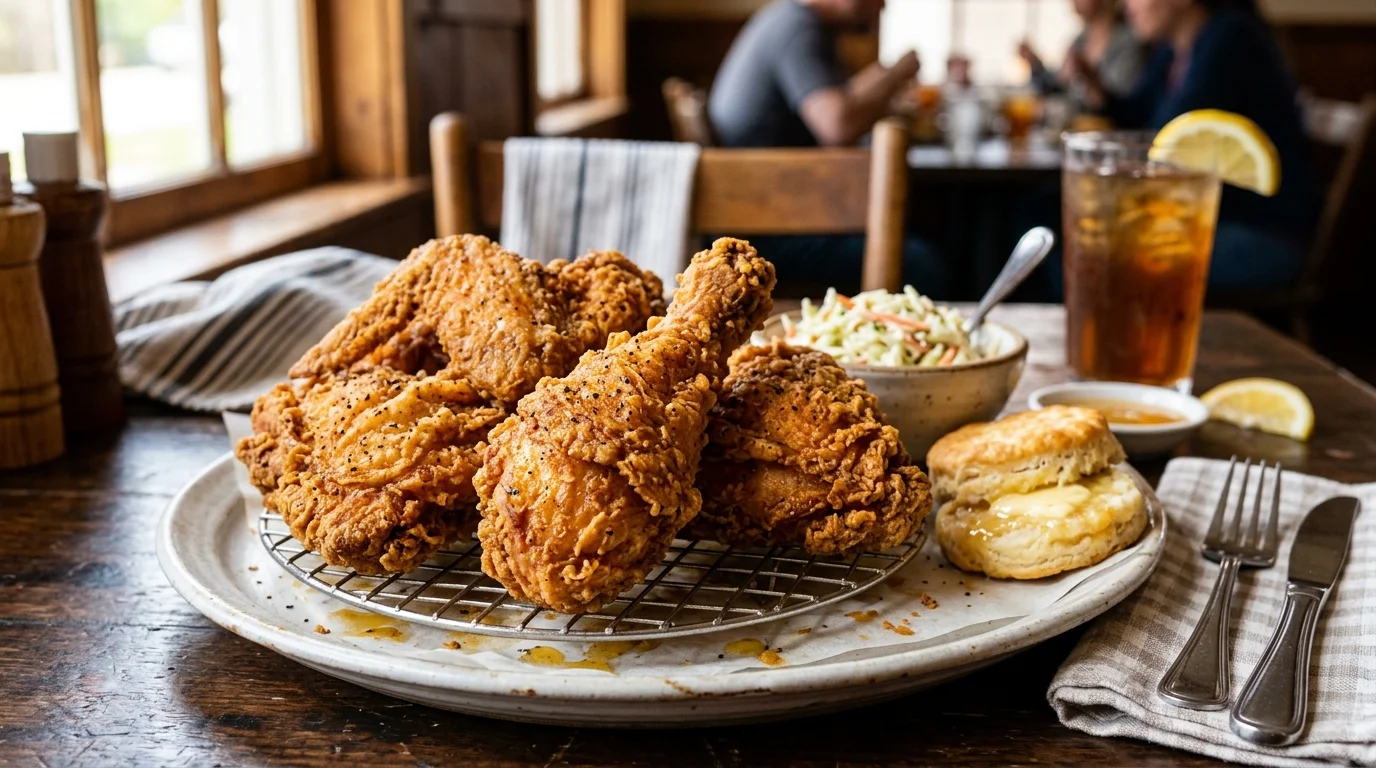
Fried Chicken Crispy, Juicy & Ready in 1 Hour
Fried chicken is the recipe that separates home cooks who know technique from those who rely on luck — and once you understand the method, it becomes one of the most reliably satisfying things you can make. A shatteringly crispy, heavily seasoned crust surrounding juicy, fully cooked chicken that stays tender all the way to the bone. It works as a Sunday dinner, a game day spread, a picnic centrepiece, or the best Friday night meal on the table. No complicated steps — just pure fried chicken perfection, golden and ready in 1 hour.
Ingredients
For the Chicken:
- 1.2kg (2.6 lb) bone-in, skin-on chicken pieces [thighs and drumsticks fry most reliably — breast pieces need more care]
- 2 cups (480ml) buttermilk [the marinade — tenderises and helps the coating stick]
- 1 tsp hot sauce [added to the buttermilk]
- 1 tsp fine salt [for the buttermilk soak]
For the Seasoned Flour Coating:
- 2 cups (240g) all-purpose flour
- 2 tbsp cornstarch [adds extra crunch to the crust]
- 1 tbsp smoked paprika
- 1 tbsp garlic powder
- 1 tsp onion powder
- 1 tsp dried oregano
- 1 tsp fine salt
- 1 tsp black pepper
- ½ tsp cayenne pepper [adjust to heat preference]
- ½ tsp dried thyme
For Frying:
- 1 litre neutral oil [vegetable, canola, or peanut — high smoke point required]
For Serving:
- Hot honey or hot sauce
- Coleslaw
- Pickles
- Mashed potato or biscuits
- Lemon wedges
Step-by-Step Instructions
Step 1: Marinate the Chicken in Buttermilk
Combine the buttermilk, hot sauce, and salt in a large bowl or zip-lock bag. Add the chicken pieces and ensure every surface is submerged. Cover and refrigerate for at least 4 hours — overnight produces the most tender, deeply seasoned result. The buttermilk acids begin breaking down the muscle fibres in the chicken, which produces genuinely juicy meat rather than the dried-out result that un-marinated chicken frequently delivers under frying heat.
Pro Tip: Overnight buttermilk soak is the single biggest upgrade between average and exceptional fried chicken.
Step 2: Gather and Prep Your Ingredients
Remove the marinated chicken from the refrigerator 30 minutes before frying — room-temperature chicken cooks more evenly than cold. Mix the seasoned flour coating in a wide, shallow bowl — wide enough to dredge a full chicken piece without flour spilling over the sides. Have a wire rack set over a baking sheet ready for the dredged pieces to rest before they go into the oil. Staging everything before frying begins prevents chaos mid-cook.
Pro Tip: Set up a wire rack for rested dredged pieces — crowding them on a plate makes the coating go soggy.
Step 3: Dredge the Chicken
Remove each chicken piece from the buttermilk and let the excess drip off for 3–4 seconds — not shaken completely dry, just drained. Press each piece firmly into the seasoned flour on both sides, then press again to build a thick, shaggy coating. The double-press and the residual buttermilk clinging to the chicken creates the craggy, textured crust that defines great fried chicken. Place the dredged pieces on the wire rack and rest for 10 minutes.
Pro Tip: Press hard twice — a firmly pressed double coat stays on during frying and produces the shaggy crust.
📖 Read More: Buffalo Chicken Dip
Step 4: Heat the Oil to the Correct Temperature
Pour the oil into a large, deep, heavy pot — at least 4 inches deep. Heat over medium-high heat to 325°F (160°C) for dark meat pieces or 350°F (175°C) for breast pieces. A kitchen thermometer is essential — oil that is too cool produces greasy, pale chicken; oil that is too hot burns the coating before the meat cooks through. Maintain the temperature throughout frying by adjusting the heat between batches.
Pro Tip: A thermometer is non-negotiable — oil temperature determines everything about the finished result.
Step 5: Fry in Batches Without Crowding
Carefully lower 3–4 pieces into the hot oil using tongs — never more than fills the pot comfortably. Fry thighs and drumsticks for 12–14 minutes total, turning once at the halfway point. Breast pieces take 8–10 minutes. The internal temperature of every piece must reach 165°F (74°C) — verify with an instant-read thermometer, never by colour alone. A dark crust does not guarantee a fully cooked interior, particularly for thicker breast pieces.
Pro Tip: Fry in batches — crowding drops the oil temperature and produces pale, greasy chicken every time.
Step 6: Drain, Rest, and Serve
Remove the fried chicken using tongs and transfer to a clean wire rack set over a baking sheet — never to paper towels, which trap steam beneath the pieces and immediately soften the crust you just built. Rest for 5 minutes before serving — the interior temperature stabilises and the juices redistribute through the meat. Season with a small pinch of flaky salt immediately while the surface is still hot. Serve immediately while the crust is at peak crunch.
Pro Tip: Wire rack after frying, never paper towels — paper towels steam the bottom of the crust soft within 60 seconds.
Cook Time
Total Time: 1 hour (plus 4–12 hours marinating) | Prep: 15 minutes | Dredge and Rest: 15 minutes | Fry: 30 minutes One deep pot, one wire rack — fried chicken on the table in 1 hour.
Servings
Serves 4 as a generous main course.
Nutritional Information (approx. per serving — 2 pieces of bone-in fried chicken, no sides)
| Nutrient | Amount |
|---|---|
| Calories | 620 kcal |
| Fat | 34g |
| Saturated Fat | 7g |
| Carbohydrates | 38g |
| Protein | 44g |
| Sugar | 2g |
| Fiber | 2g |
| Sodium | 780mg |
| Vitamin C | 2mg |
| Potassium | 480mg |
| Calcium | 60mg |
Values are approximate and will vary based on chicken pieces used and oil absorption.
Storage Instructions
Fried chicken is best eaten within 30 minutes of coming out of the oil — the crust is at peak crunch and the interior at peak juiciness in this window. Store leftover pieces on a wire rack uncovered in the refrigerator for up to 3 days — never sealed airtight, which softens the crust through trapped moisture. To reheat, place directly on the oven rack at 400°F for 12–15 minutes until the crust re-crisps and the interior is hot throughout.
Never microwave leftover fried chicken — it softens the crust completely and produces rubbery, steamed chicken rather than anything resembling the original. For freezing, freeze fully cooled pieces in a single layer on a baking sheet until solid, then transfer to a freezer bag. Reheat from frozen at 400°F on a wire rack for 20–25 minutes. The crust will not fully recover its original crunch after freezing but the flavour holds well.
📖 Read More: Marry Me Chicken
Suggestions
- Nashville Hot Fried Chicken: Mix 3 tablespoons of cayenne, 1 tablespoon of smoked paprika, 1 tablespoon of brown sugar, and 1 teaspoon of garlic powder into ¼ cup of the frying oil immediately after cooking. Brush generously over the hot fried chicken and serve on white bread with pickles. Genuinely fiery — reduce cayenne by half for a milder version.
- Korean-Style Fried Chicken: Double fry each piece — first at 325°F for 10 minutes, rest for 5 minutes on a rack, then fry again at 375°F for 5 minutes. Toss the finished pieces in a sauce of gochujang, honey, soy sauce, and sesame oil. The double fry produces the thinnest, crispiest shell imaginable — genuinely different from any single-fry method.
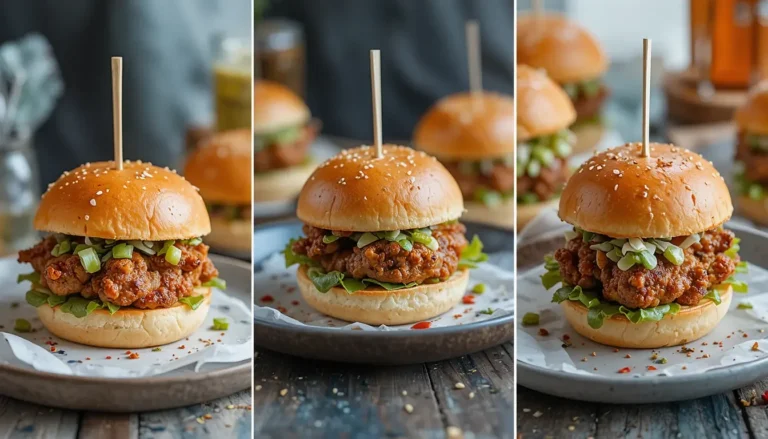
- Buttermilk Fried Chicken Sandwich: Fry boneless chicken breast fillets using the same coating method. Place in a brioche bun with shredded iceberg lettuce, sliced pickles, and a generous spread of chipotle mayo. The sandwich is the most crowd-pleasing format — all the flavour of the full fried chicken in a portable, stackable build.
- Air Fryer Fried Chicken: Use the same buttermilk marinade and seasoned flour dredge. Spray the dredged pieces generously with cooking spray on all sides. Air fry at 380°F for 20–25 minutes, flipping once at the halfway point. The result is 70% of the crunch of deep-fried chicken at a fraction of the oil — a practical everyday alternative.
- Oven-Baked Crispy Chicken: Dredge as directed. Place on a greased wire rack over a baking sheet. Spray generously with cooking spray. Bake at 425°F for 35–40 minutes, turning once. Not identical to deep-fried but genuinely crispy and significantly lighter — the best option when deep-frying is impractical.
- Spicy Honey Glazed Fried Chicken: After frying, drizzle hot honey over each piece immediately — the honey hits the hot crust and caramelises slightly against the surface. Add a pinch of flaky salt and chili flakes. The sweet-spicy-salty combination against the crispy crust is one of the most addictive fried chicken finishes available.
- Kid-Friendly Mild Fried Chicken: Remove the cayenne entirely and reduce the black pepper to ¼ teaspoon. Add 1 teaspoon of mild sweet paprika in place of smoked. Use chicken tenders rather than bone-in pieces — they fry in 4–5 minutes and are universally accepted by younger eaters. Serve with ketchup or mild honey mustard.
- Gluten-Free Fried Chicken: Replace all-purpose flour with a 1:1 gluten-free flour blend or rice flour. Rice flour actually produces an exceptionally crispy crust — slightly lighter and crunchier than standard wheat flour with no perceptible flavour difference. Use the same coating method and frying temperature identically.
Seasonal Relevance
Fried chicken earns its place in every season but the occasion shifts meaningfully throughout the year. From May through September it belongs outdoors — picnic fried chicken eaten at room temperature is one of the great summer food experiences, and the crust holds its texture well for several hours after frying. From October through February, fried chicken transitions indoors as the centrepiece of a Sunday dinner or a game-day spread. The Nashville hot version suits winter specifically — the cayenne heat is more welcome and more warming when the weather outside is cold.
Conclusion
Great fried chicken is entirely about technique — the overnight buttermilk soak, the firmly pressed double dredge, the correctly temped oil, the wire rack after frying, and the 5-minute rest before serving. Get those five things right consistently and every batch of fried chicken you make will be genuinely outstanding rather than occasionally good. Try the Nashville hot version for heat, the Korean double-fry for crunch, or the sandwich build for a crowd. Once the method is locked in, fried chicken becomes the recipe people ask for by name every week.
FAQs
Q: Why does my fried chicken coating fall off during frying? Coating falls off from three causes — shaking off too much buttermilk before dredging, not pressing the flour firmly enough, and not resting the dredged pieces before frying. The residual buttermilk is the glue between the chicken and the coating — shake lightly, not aggressively. Press hard twice into the flour. Rest on a wire rack for 10 minutes before frying — this allows the coating to hydrate and adhere before it meets hot oil.
Q: How do I know when fried chicken is fully cooked inside? Colour alone is not a reliable indicator — a dark golden crust can form before the interior reaches a safe temperature, particularly in thick breast pieces. Use an instant-read thermometer inserted into the thickest part of the meat without touching bone — 165°F (74°C) confirms safe doneness. Dark meat pieces — thighs and drumsticks — are more forgiving than breast and stay juicy even slightly above 165°F. Breast pieces dry out quickly beyond this temperature.
Q: Can I reuse the frying oil? Yes — frying oil can be reused 2–3 times for fried chicken. Allow it to cool completely after frying, strain it through a fine mesh strainer to remove all food particles, and store in a sealed container at room temperature or in the refrigerator. Discard the oil when it darkens significantly, smells rancid or burnt, or begins smoking at a lower temperature than usual. Never mix used frying oil with fresh oil — used oil degrades the fresh oil rapidly.
📖 Read More: chicken enchiladas with white Sauce